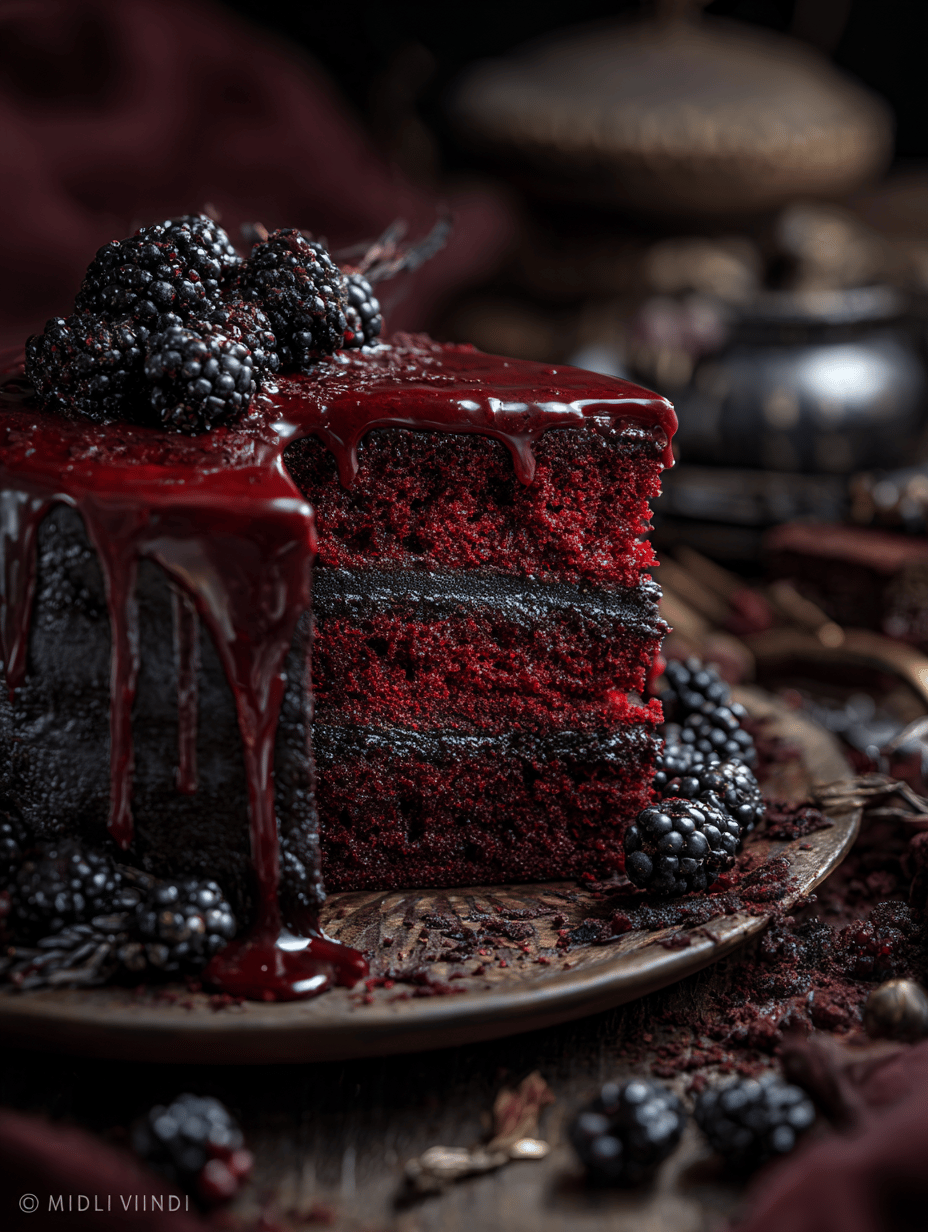
Red velvet cake has always seemed like a secret handshake among bakers—something about that deep, blood-red crumb and whisper of cocoa feels mysterious. I love that it’s not just about the look but about balancing that bright, tangy flavor with tender crumb. It’s a cake that’s equally suited for celebration or a quiet, solo indulgence.
Baking it feels like a small act of rebellion—messy, imperfect, but deeply satisfying. The secret, I find, is in the tiny tweaks: a splash more vinegar, a flicker of food coloring, that moment when you tap the pan and hear the promise of moistness inside.
Why This Cake Keeps Calling Me Back
It’s that perfect balance of tang and richness, plus the unpretentious chaos of baking. Every time I make it, I remember how simple ingredients can create something striking and real. It’s a cake that doesn’t demand perfection but rewards patience and a little bit of flare.
What Makes This Red Velvet Tick?
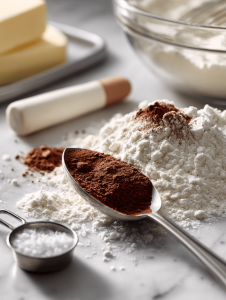
- All-purpose flour: : Gives structure and body. Using cake flour can make it softer, but all-purpose works fine.
- Cocoa powder: : Adds that subtle chocolate depth. Use natural cocoa for a brighter flavor.
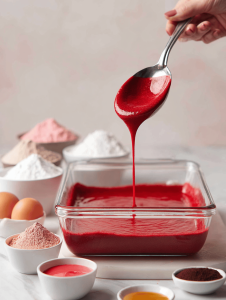
- Red food coloring: : Vivid, almost oozy in the bowl. Swap with beet juice for a natural twist.
- Buttermilk: : Tenderizes the crumb with a tangy kick. If you’re out, sour milk works in a pinch.
- Vinegar: : Brightens the red and enhances rise. White or apple cider vinegar both do the job.
- Sugar: : Sweetens and balances the acidity. Brown sugar adds a caramel note, if you like.
- Vegetable oil: : Keeps it moist and tender. Swap for melted butter if you’re feeling rich.
Tools of the Crimson Trade
- Mixing bowls: To combine your ingredients smoothly and efficiently.
- Sifter: To aerate dry ingredients and avoid lumps.
- Electric mixer: To beat sugar and eggs into fluffy consistency.
- Cake pan (23cm/9-inch): To shape your cake evenly.
- Cooling rack: To cool your cake evenly without sogginess.
Crafting the Crimson Depths: Step-by-Step to a Velvety Finish
Step 1: Preheat your oven to 180°C (350°F). Grease and flour a 23cm (9-inch) round cake pan.
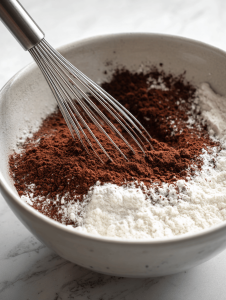
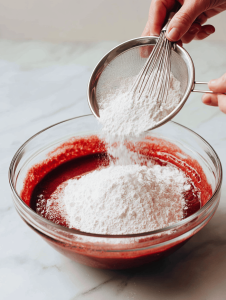
Step 2: In a bowl, sift together 250g (2 cups) all-purpose flour, 30g (1/4 cup) unsweetened cocoa powder, 1 tsp baking soda, and a pinch of salt.
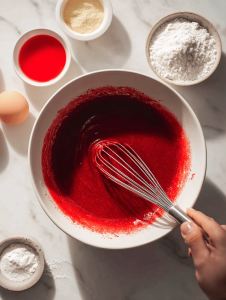
Step 3: In another bowl, beat 250g (1 1/4 cups) sugar with 120ml (1/2 cup) vegetable oil until smooth and slightly fluffy.
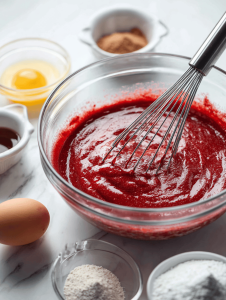
Step 4: Add two large eggs, one at a time, beating well after each. Mix in 240ml (1 cup) buttermilk and 1 tbsp white vinegar.
Step 5: Incorporate the dry ingredients into the wet, alternating with 120ml (1/2 cup) red food coloring, starting and ending with dry. Mix until just combined.
Watch These Key Moments to Nail Your Red Velvet
- The batter should be glossy and smoothly pourable, not thick or lumpy.
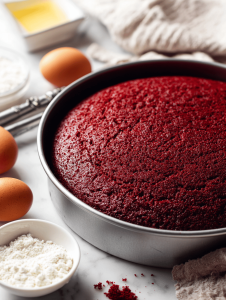
- The cake edges should pull away slightly from the pan, indicating doneness.
- A toothpick inserted in the center comes out clean or with a few moist crumbs.
- The top should be firm and slightly cracked, with a deep, rich color.
Common Pitfalls and How to Dodge Them
- Leaving the cake in the oven too long.? OVER-BAKING your cake makes it dry; check for doneness at 30 minutes with a toothpick.
- Skipping the sifting step.? Not sifting dry ingredients causes lumps; always sift thoroughly before mixing.
- Adding excessive food coloring.? Using too much food coloring can turn the cake bitter; try a little less and increase gradually.
- Frequent oven door openings.? Opening the oven too often causes the cake to sink; wait patiently for the right color.
Red Velvet Cake
Ingredients
Equipment
Method
- Preheat your oven to 180°C (350°F). Grease and lightly flour a 23cm (9-inch) round cake pan.
- Sift together the flour, cocoa powder, baking soda, and salt into a large mixing bowl to aerate the dry ingredients.
- In a separate bowl, beat the sugar and vegetable oil with an electric mixer until the mixture is smooth and slightly fluffy, releasing a sweet aroma.
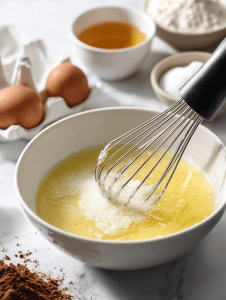
- Add the eggs one at a time, beating well after each addition until the batter is glossy and smooth.
- Pour in the buttermilk and add the white vinegar, mixing until well combined and the batter appears slightly thinner.
- Gradually add the sifted dry ingredients into the wet mixture, alternating with the red food coloring, starting and ending with the dry ingredients. Mix until just combined and the batter is glossy and smooth.
- Pour the batter into the prepared cake pan, smoothing the top with a spatula. Tap the pan gently on the counter to remove air bubbles.
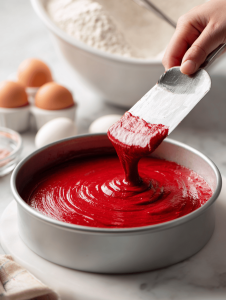
- Bake in the preheated oven for about 30 minutes, or until the edges pull slightly away from the pan and a toothpick inserted in the center comes out clean.
- Remove the cake from the oven and let it cool in the pan for 10 minutes, then transfer to a cooling rack to cool completely.
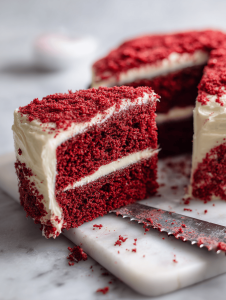
- Once cooled, frost and decorate as desired, then slice to reveal the bright, tender crumb with a deep, rich color and a slight cocoa aroma.

Hi, I’m Hannah Reynolds, the heart behind Seasoning Therapist. I believe food can comfort, restore, and gently reset us after a long day. I started Seasoning Therapist with one simple idea in mind: cooking is not just about feeding the body, it is about caring for the mind too. The right seasoning can change the mood of a dish, and sometimes even the mood of the person eating it. This blog is where I combine my love for thoughtful cooking with my belief that the kitchen can be a place of healing.
