In my kitchen, the perfect boiled egg is a quiet victory, not just a snack but a tiny science experiment. It’s about that elusive balance — not too soft, not too firm, with a yolk that’s just right to dip toast or toss into a salad. Over the years, I’ve learned that small tweaks in timing and water temp can turn a simple egg into something worth pausing for.
This recipe isn’t about shortcuts or tricks; it’s about honing a simple skill that feels a little like meditation. The real trick is paying attention — to the smell of boiling water, the jiggle of the yolk, the crack of the shell. Getting it just right is oddly satisfying, and honestly, it’s a skill I keep refining, even after years in the kitchen.
This recipe explores the overlooked art of timing and technique to achieve the perfect boiled egg, emphasizing how minor adjustments in water temperature and cooking duration can turn a simple snack into a culinary delight.
The story behind this recipe
- I remember the first time I tried boiling eggs perfectly — the moment when the yolk was just set but still creamy, that tiny win in the chaos of breakfast rush. It felt like cracking a secret code, one I kept trying to decode over many mornings. Now, it’s a ritual I return to, a simple act that grounds my day.
- This recipe came out of countless mornings of fussing with timing, water temperature, and shell cracking. I started paying real attention to how gentle handling, and slight adjustments, could make all the difference. It’s become a quiet obsession, a small daily challenge that’s oddly calming in the rush.
- heading
- story_type
Key ingredients and their quirks
- Eggs: I’ve found that older eggs peel more easily, so I keep a batch in the fridge for boiling. Slightly fresher eggs tend to crack more during cooking, so I prefer ones that are a week old.
- Water: Using plenty of water to fully submerge the eggs is key. It helps cook evenly and prevents cracking. A gentle simmer is all you need—boiling vigorously can jostle the shells too much.
- Salt: A pinch of salt in the water does more than flavor—helps prevent eggs from cracking and makes them easier to peel. Trust me, it’s worth the extra pinch.
- Vinegar (optional): I sometimes add a splash of vinegar to help with peeling, especially if I’m doing a bunch at once. It’s subtle but makes the shell come off smoother, like magic.
- Ice bath: After boiling, plunging eggs into ice water stops the cooking instantly and firms up the whites. The cold makes peeling a breeze and keeps the yolk perfect—firm but not chalky.
- Timing: I’ve learned that 9-10 minutes for large eggs hits that sweet spot—set whites with a slightly creamy yolk. Too long, and they get rubbery; too short, and the yolk’s runny.
- Pan size: Using a wide pan spreads the eggs out and ensures even heat. Overcrowding leads to uneven cooking, and nobody wants a half-cooked yolk hiding behind a shell.
Spotlight on key ingredients
Eggs:
- I’ve found that slightly older eggs peel more easily, with a firmer white that holds up during boiling. Fresh eggs tend to crack and stick, making peeling a chore.
- Egg Whites: They turn opaque and firm but should still feel tender. Overcooking makes them rubbery; undercooking leaves a runny yolk. The perfect egg white is a gentle jiggle, not a squeaky firmness.
Notes for ingredient swaps
- Eggs: I prefer using older eggs, around a week old, as they peel more easily; fresher eggs tend to crack and stick.
- Water: Use plenty of water to fully submerge the eggs—soft simmering water prevents jostling and cracking.
- Salt: A pinch of salt in the water helps prevent cracking and makes peeling smoother—trust me, it’s worth it.
- Vinegar: A splash of vinegar can help with peeling, especially if you’re boiling many eggs at once; it softens the shell membrane.
- Ice bath: Immediately plunging eggs into ice water stops the cooking instantly and firms up the whites, easing peeling.
- Timing: For large eggs, 9-10 minutes hits that perfect balance—set whites, creamy yolk. Adjust slightly for softer or firmer yolks.
- Pan size: Use a wide pan for even heat distribution. Overcrowding leads to uneven cooking and undercooked yolks.
Equipment & Tools
- Medium saucepan: Holds water and eggs for boiling evenly.
- Slotted spoon: Transfers eggs to ice bath gently.
- Bowl of ice water: Stops cooking and helps with shell removal.
Step-by-step guide to boiling eggs
- Gather your equipment: a medium-sized saucepan, a slotted spoon, and a bowl of ice water. The pan should hold enough water to fully cover the eggs by about an inch.
- Place cold eggs in the saucepan gently, avoiding cracks. Fill with cold water until eggs are submerged, about 2-3 cm above eggs.
- Turn on the heat to medium-high. Bring water to a gentle simmer—small bubbles should form around the eggs, not a rolling boil. This usually takes 5-7 minutes.
- Once simmering, set a timer for 9-10 minutes for large eggs. If you prefer slightly softer yolks, aim for 8-9 minutes.
- During the last minute of cooking, prepare your ice bath: fill a bowl with ice and cold water. This halts the cooking instantly and makes peeling easier.
- When the timer goes off, use a slotted spoon to transfer eggs into the ice bath. Let them sit undisturbed for at least 5 minutes—this cools the eggs thoroughly and helps with peeling.
- After cooling, gently tap each egg on a hard surface to crack the shell, then peel under running cold water. The water helps smooth the shell removal and prevents sticking.
- Rest the peeled eggs for a minute or two on a paper towel to dry. Serve immediately or store for later use.
Let the eggs rest in the ice bath for at least 5 minutes. Gently peel, then dry with a paper towel. Serve warm or store in the fridge for up to a week.
How to Know It’s Done
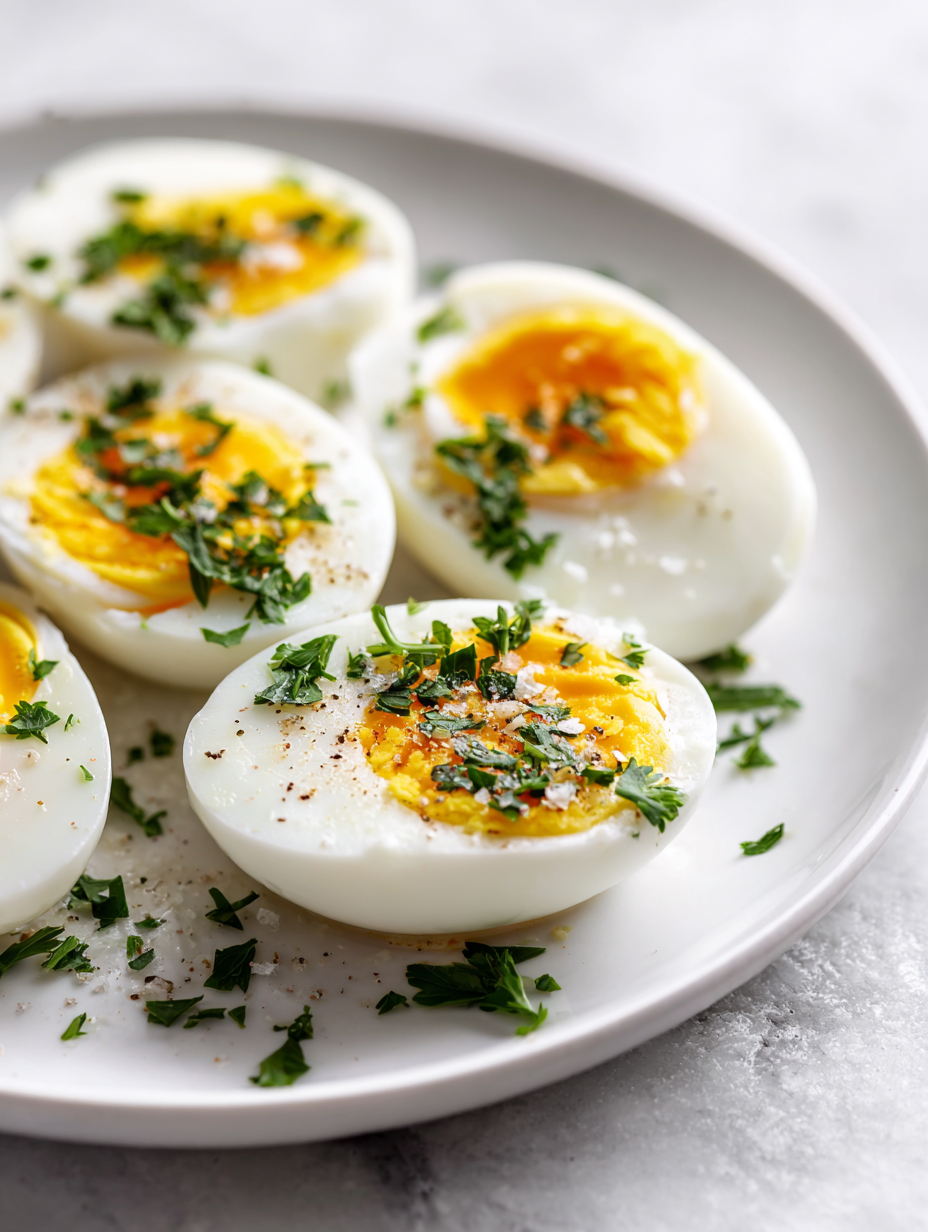
- Egg whites are firm and opaque, yolks slightly creamy but not runny.
- Shell cracks easily when tapped but doesn’t shatter into pieces.
- Eggs peel smoothly with minimal membrane sticking.
Perfect Boiled Egg
Ingredients
Equipment
Method
- Place your eggs gently into a medium saucepan, making sure they sit in a single layer without crowding.
- Fill the pan with cold water, ensuring the eggs are submerged by about an inch, and add a pinch of salt to the water.
- Turn the heat to medium-high and bring the water to a gentle simmer—small bubbles will start to form around the eggs, but it shouldn’t be a rolling boil.
- Once the water is simmering, set a timer for 9 to 10 minutes for large eggs, depending on how runny or firm you like the yolk.
- While the eggs cook, prepare a bowl filled with ice and cold water to create an ice bath for stopping the cooking process.
- When the timer goes off, use a slotted spoon to transfer the eggs carefully into the ice bath, making sure they’re fully submerged.
- Let the eggs sit in the ice bath for at least 5 minutes; this cools them quickly and helps with peeling.
- Gently tap each egg on a hard surface to crack the shell, then peel under running cold water to loosen the shell membrane and make peeling smooth.
- Pat the peeled eggs dry with a paper towel, then serve immediately for a tender, perfectly set white with a creamy yolk, or store in the fridge for later enjoyment.
Pro tips for perfect boiled eggs
- Bolded mini-head: Use a gentle simmer rather than a rolling boil to prevent cracking and jostling.
- Bolded mini-head: Start with cold water to promote even cooking and easier peeling.
- Bolded mini-head: Add a pinch of salt to help eggs peel smoothly and to prevent cracking.
- Bolded mini-head: Immediately plunge cooked eggs into an ice bath to halt cooking and tighten whites.
- Bolded mini-head: Gently tap and peel eggs under running cold water for cleaner shells.
- Bolded mini-head: Timing is everything—9 to 10 minutes for large eggs yields perfect set whites and creamy yolks.
Common mistakes and how to fix them
- FORGOT to start with cold eggs → Always begin with cold eggs for even cooking.
- DUMPED eggs into boiling water → Gently lower eggs to prevent cracking during immersion.
- OVER-TORCHED the eggs → Remove eggs promptly once timer ends to avoid rubbery whites.
- FAILED to cool eggs in ice bath → Chill eggs immediately for easier peeling and perfect texture.
Quick fixes and pantry swaps
- If water stops boiling, splash in a little more hot water to recover heat.
- When eggs crack during boiling, patch with a tiny bit of shell to prevent leakage.
- Splash cold water immediately if eggs are overcooked to stop the greenish ring formation.
- Dump a teaspoon of vinegar into the water to help peel stubborn shells more easily.
- When shells stick, give eggs a five-second rescue in warm water to loosen the membrane.
Prep, store, and reheat tips
- Boiled eggs can be prepped a day in advance, kept in their shells in the fridge, which helps retain moisture and freshness.
- Store peeled eggs in an airtight container with a damp paper towel to prevent drying out; best consumed within 2 days for optimal texture.
- Refrigerated boiled eggs develop a firmer white and milder flavor; reheating isn’t necessary unless you prefer warm eggs—simply peel and enjoy cold.
- To reheat peeled eggs, place in hot water for 30 seconds or microwave on low for 10-15 seconds, watching for steam and slight warmth—avoid overcooking, or whites turn rubbery.
Top questions about boiled eggs
1. Should I use fresh eggs or older ones?
Use eggs that are about a week old. They peel easier and less likely to crack during boiling.
2. How long should I boil the eggs for perfect yolks?
Boil eggs in enough water to fully cover them, then simmer gently for 9-10 minutes for the best yolk consistency.
3. Why do I need an ice bath after boiling?
Plunge cooked eggs into an ice bath immediately after boiling to stop the cooking process and make peeling easier.
4. How do I peel boiled eggs without breaking them?
Peel eggs under running cold water to help loosen the shell and prevent sticking, making peeling smoother.
5. Can I boil eggs at a full boil?
Ensure the water is at a gentle simmer—not a rolling boil—to avoid cracking the shells.
6. Should I add anything to the water when boiling eggs?
Adding a pinch of salt or vinegar to the water can help prevent cracking and make peeling easier.
7. How long do boiled eggs last in the fridge?
Store boiled eggs in their shells in the fridge for up to a week; peeled eggs should be eaten within 2 days.
8. Can I reheat boiled eggs?
Reheat peeled eggs by placing them in hot water for 30 seconds or microwaving on low for 10-15 seconds, if desired.
9. Why do my yolks turn green?
Overcooking can cause a greenish ring around the yolk; to avoid this, don’t overextend the boiling time.
10. What if my eggs crack while boiling?
If eggs crack during boiling, gently lower them into the water and reduce heat to prevent further cracking.
Sometimes, the simplest things hold the most surprises, and a perfectly boiled egg is no exception. It’s a quiet satisfaction, a small act that can start or finish a meal with confidence. When you get the timing right, it’s a little reminder that patience and attention are worth their weight in yolk.
In the end, it’s about those little moments of mastery—peeling smoothly, yolks just set, whites tender but firm. No matter how often I do it, I find comfort in those quiet, predictable results. It’s a humble skill that still manages to surprise me, every time I crack one open.

Hi, I’m Hannah Reynolds, the heart behind Seasoning Therapist. I believe food can comfort, restore, and gently reset us after a long day. I started Seasoning Therapist with one simple idea in mind: cooking is not just about feeding the body, it is about caring for the mind too. The right seasoning can change the mood of a dish, and sometimes even the mood of the person eating it. This blog is where I combine my love for thoughtful cooking with my belief that the kitchen can be a place of healing.
