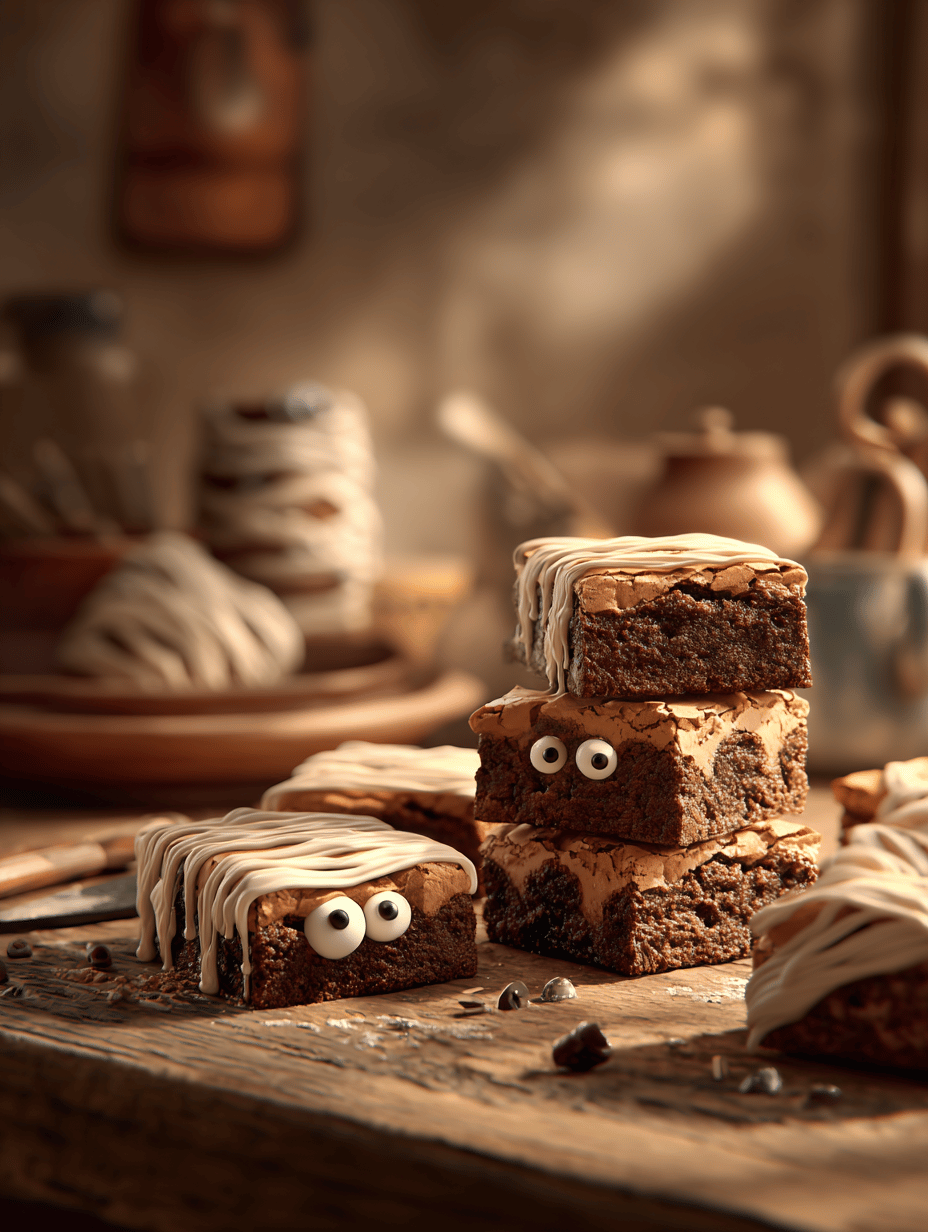
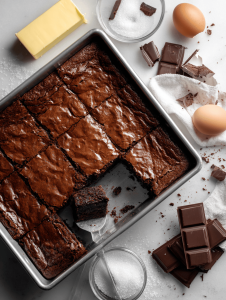
Mummy brownies are my go-to when I want to bake something that feels familiar but has a little twist of chaos. They remind me of childhood weekends—melting chocolate, eaten straight from the pan, no fuss. This recipe is about embracing the imperfect, the cracked tops, the slightly uneven edges.
Why I keep making these brownies again and again
They’re simple, forgiving, and full of nostalgic chaos. The slightly cracked tops and gooey centers remind me of childhood Sundays. Plus, they’re quick, versatile, and forgiving when I forget an ingredient or two.
What makes these brownies special? An ingredient breakdown
- Butter: Rich, mellow base—use unsalted for control. Swap with coconut oil for a subtle tropical note.
- Sugar: Sweet and tenderizes—white sugar keeps it classic, but brown sugar adds chewiness.
- Cocoa powder: Deep, smoky flavor—preferably Dutch-processed, but natural cocoa works in a pinch.
- Eggs: Bind everything together—room temp eggs help everything mix smoothly.
- Flour: Gives structure—can swap with almond flour for a nutty twist.
- Salt: Enhances chocolate—just a pinch to balance sweetness.
- Vanilla extract: Brings warmth—skip if you want a more intense cocoa punch.
Tools and equipment you’ll need
- 20cm (8-inch) square baking pan: To hold and shape your brownies.
- Parchment paper: Easy removal and cleanup.
- Saucepan: Melting butter smoothly.
- Whisk and spatula: Mixing ingredients thoroughly.
- Wire rack: Cooling the baked brownies evenly.
Step-by-step for the perfect mummy brownies
Step 1: Preheat your oven to 175°C (350°F).
Step 2: Line a 20cm (8-inch) square baking pan with parchment paper, leaving a slight overhang.
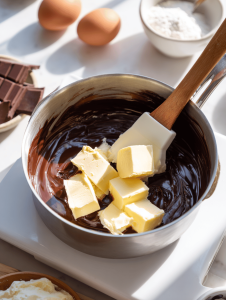
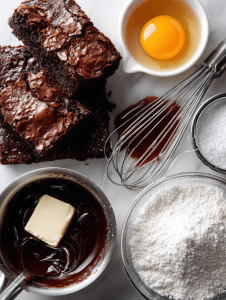
Step 3: Melt 115g (4 oz) of unsalted butter in a saucepan over low heat, then remove from heat.
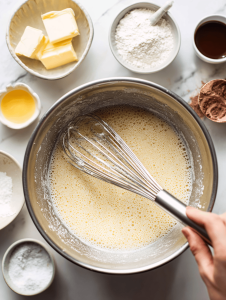
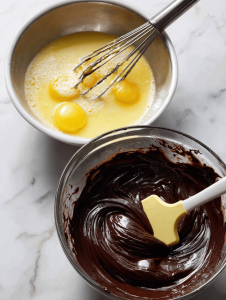
Step 4: In a bowl, whisk together 200g (1 cup) of sugar, 2 large eggs, and 1 teaspoon vanilla extract until smooth.
Step 5: Add the melted butter to the mixture, stirring well.
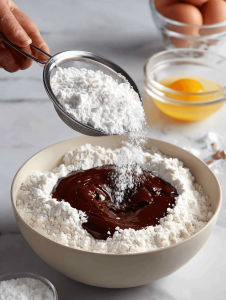
Step 6: Fold in 60g (scant ½ cup) of cocoa powder, 100g (½ cup) of all-purpose flour, and a pinch of salt.
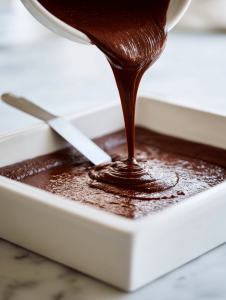
Step 7: Pour the batter into the prepared pan, smoothing the top.
Step 8: Bake for 20-25 minutes. The edges will be set but the center slightly gooey.
Step 9: Remove from oven and let cool in the pan for 10 minutes.
Step 10: Transfer to a wire rack and cool completely before slicing.
Cooking checkpoints and tips to keep in mind
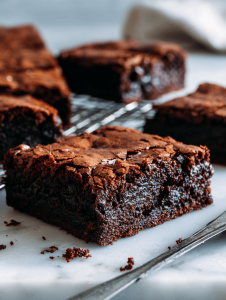
- Edges should be firm and slightly cracked, with a shiny top.
- Center should jiggle just a little when shaken, like a loose jewel.
- A toothpick inserted in the center should come out with moist crumbs, not wet batter.
Common mistakes and how to fix them
- Mixing too vigorously.? OVER-MIXED THE BATTER, resulting in tough brownies. Gently fold ingredients to keep it tender.
- Overheating the oven.? BAKED AT TOO HIGH TEMP, causing burnt edges. Always stick to 175°C (350°F).
- Underbaking.? UNDercooked centers, check with a toothpick. Bake an extra 2-3 minutes if needed.
- Greasing the pan poorly.? Brownies stuck to the pan. Use parchment and let cool before slicing.
Mummy Brownies
Ingredients
Equipment
Method
- Preheat your oven to 175°C (350°F). Line your square baking pan with parchment paper, leaving a slight overhang for easy removal.
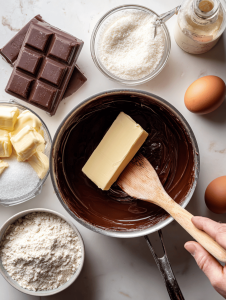
- In a saucepan over low heat, melt the butter until it’s smooth and fragrant, then remove from heat.
- In a mixing bowl, whisk together the sugar, eggs, and vanilla extract until the mixture is smooth, pale, and slightly fluffy.
- Add the melted butter to the egg mixture, stirring gently until combined and glossy.
- Sift in the cocoa powder, flour, and salt, then fold everything together with a spatula until just combined. The batter will be thick and glossy.
- Pour the batter into your prepared pan and spread it evenly with a spatula, smoothing the surface slightly.
- Bake in the oven for 20-25 minutes, until the edges are set and cracked, and the top is shiny and slightly crisp.
- Remove the pan from the oven and let the brownies cool in the pan for about 10 minutes, allowing the edges to firm up.
- Transfer the brownies onto a wire rack and cool completely before slicing into squares.
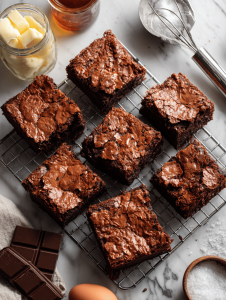
- Once cooled, cut into squares and enjoy the rich, fudgy, and slightly cracked treats with a nostalgic charm.
Notes

Hi, I’m Hannah Reynolds, the heart behind Seasoning Therapist. I believe food can comfort, restore, and gently reset us after a long day. I started Seasoning Therapist with one simple idea in mind: cooking is not just about feeding the body, it is about caring for the mind too. The right seasoning can change the mood of a dish, and sometimes even the mood of the person eating it. This blog is where I combine my love for thoughtful cooking with my belief that the kitchen can be a place of healing.
